Security Scanning
The Scanning module is where you actively test your applications and infrastructure for security problems. From one screen you can launch a web app scan, probe your network, test an API, check SSL/TLS configuration, audit a container image, assess a Kubernetes cluster, or analyze source code — and review every result in a single, consistent history.
What you can scan
| Scan type | What it checks | Powered by |
|---|---|---|
| Web application | Common web vulnerabilities, missing security headers (HSTS, CSP), exposed sensitive paths | OWASP ZAP, Nuclei |
| Network | Open ports, running services, and version detection on hosts | Nmap |
| SSL/TLS | Protocol support, cipher strength, certificate issues, and known TLS vulnerabilities | testssl.sh |
| API | The OWASP API Security Top 10 (2023) across REST, GraphQL, and SOAP endpoints | Built-in API scanner |
| Containers | OS and dependency vulnerabilities, SBOMs, signature verification, and secrets in image layers | Trivy, Grype, Syft, Hadolint |
| Kubernetes | CIS benchmark checks, Pod Security Standards, and cluster misconfigurations | kube-bench, Polaris, Trivy |
| Code | Static analysis (SAST), dependency vulnerabilities (SCA), license compliance, and hard-coded secrets | OpenGrep, Bandit, OSV, Syft |
Each scan type has its own guide — see Where to go for each scan type below.
How scanning fits the bigger picture
Scanning is the first step in the platform's core data flow:
Scan → Finding → Risk → Report
- Scan — you run a scan against a target (a URL, host, API, image, cluster, or repository). You can launch it manually, on a schedule, or from your CI/CD pipeline.
- Finding — results from every tool are normalized into findings with a severity, the affected resource, and remediation guidance, then deduplicated so you don't see the same issue twice.
- Risk — significant findings can be promoted into the Risk Register with treatment plans and SLAs.
- Report — findings map to compliance controls and can be exported as audit-ready reports.
This means scanning isn't a dead end: whatever you find here flows straight into Vulnerability Management, risk, compliance, and reporting.
How to run a scan
- Open Scanning from the left navigation.
- Choose the scan type and enter the target (for example, a full URL like
https://app.example.comfor a web scan). - Pick a scan intensity or profile where offered (for example, web scans support quick, standard, and comprehensive).
- Select Start scan. The scan runs in the background, so you can leave the page and come back.
- Watch progress on the scan history screen. Scans move through running to completed (or failed / partial if a tool couldn't finish).
- Open a completed scan to review its findings, then download a report or send findings on to risk and vulnerability tracking.
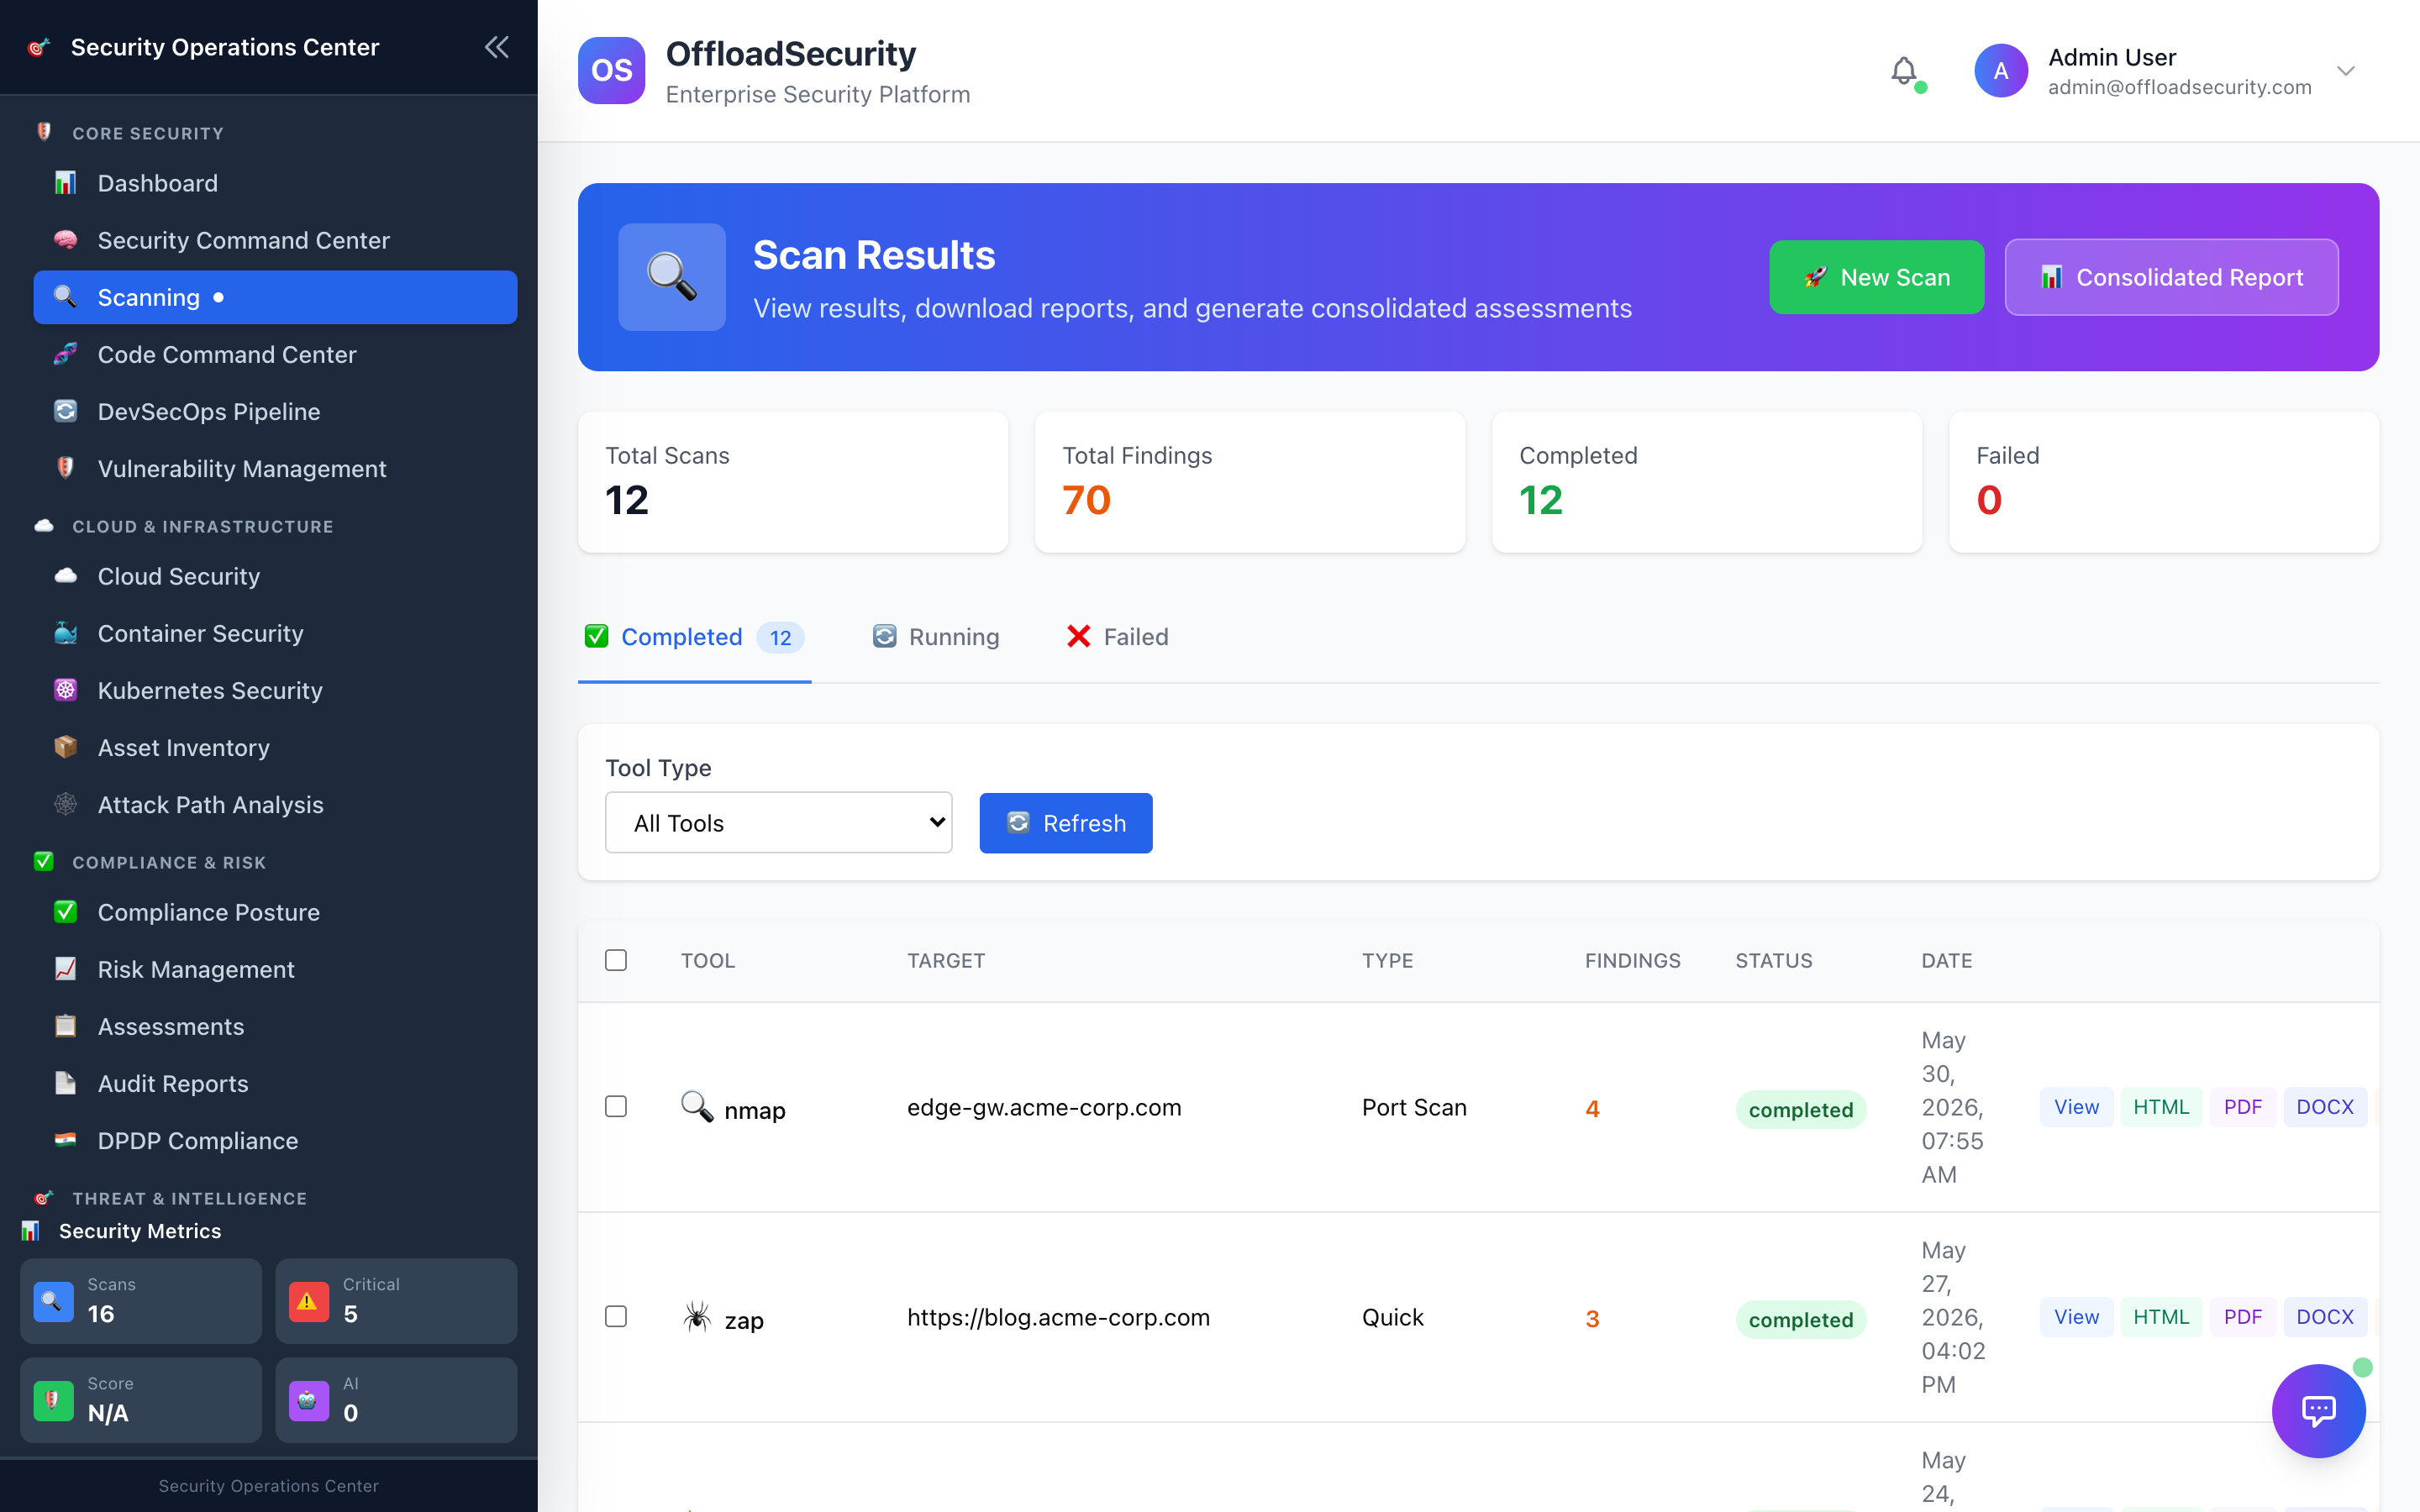
Reviewing results
The scan history gives you one view across every scan type:
- Tabs separate completed, running, and failed scans, and the running tab refreshes on its own.
- Filter by tool or scan type to find a specific run.
- Re-scan a previous target in one click to confirm a fix.
- Reports can be generated per scan, or you can merge several scans into a single consolidated executive report (PDF, HTML, or Excel).
Web and network scans support rate-limit profiles (gentle, normal, aggressive). Choose a gentler profile for fragile or production targets so the scan doesn't overload them.
Run scans only against systems you own or are explicitly authorized to test. Active scanning sends real traffic to the target.
For web and API scans behind a login, provide credentials (bearer token, cookie, or username/password) so the scanner can reach protected areas. The platform validates them with a pre-scan check, and your credentials are encrypted and never shown in saved results or reports.
Where to go for each scan type
- Web, Network & SSL/TLS Scans — test web apps, discover network services, and assess TLS configuration.
- API & Code Security Scanning — run OWASP API Top 10 tests and analyze source code (SAST, SCA, secrets, SBOM/licenses).
- Container & Registry Security — scan images in ECR, Artifact Registry, ACR, and Docker Hub.
- Kubernetes Security — assess EKS, GKE, AKS, and on-prem clusters against CIS benchmarks.
- Scan Management & CI/CD — automate scans, gate pipelines on severity, and generate consolidated reports.
Related
- Vulnerability Management — triage and track the findings your scans produce.
- Risk Register — promote findings into managed risks.
- Connecting Cloud Accounts — connect accounts to unlock container and Kubernetes scanning.