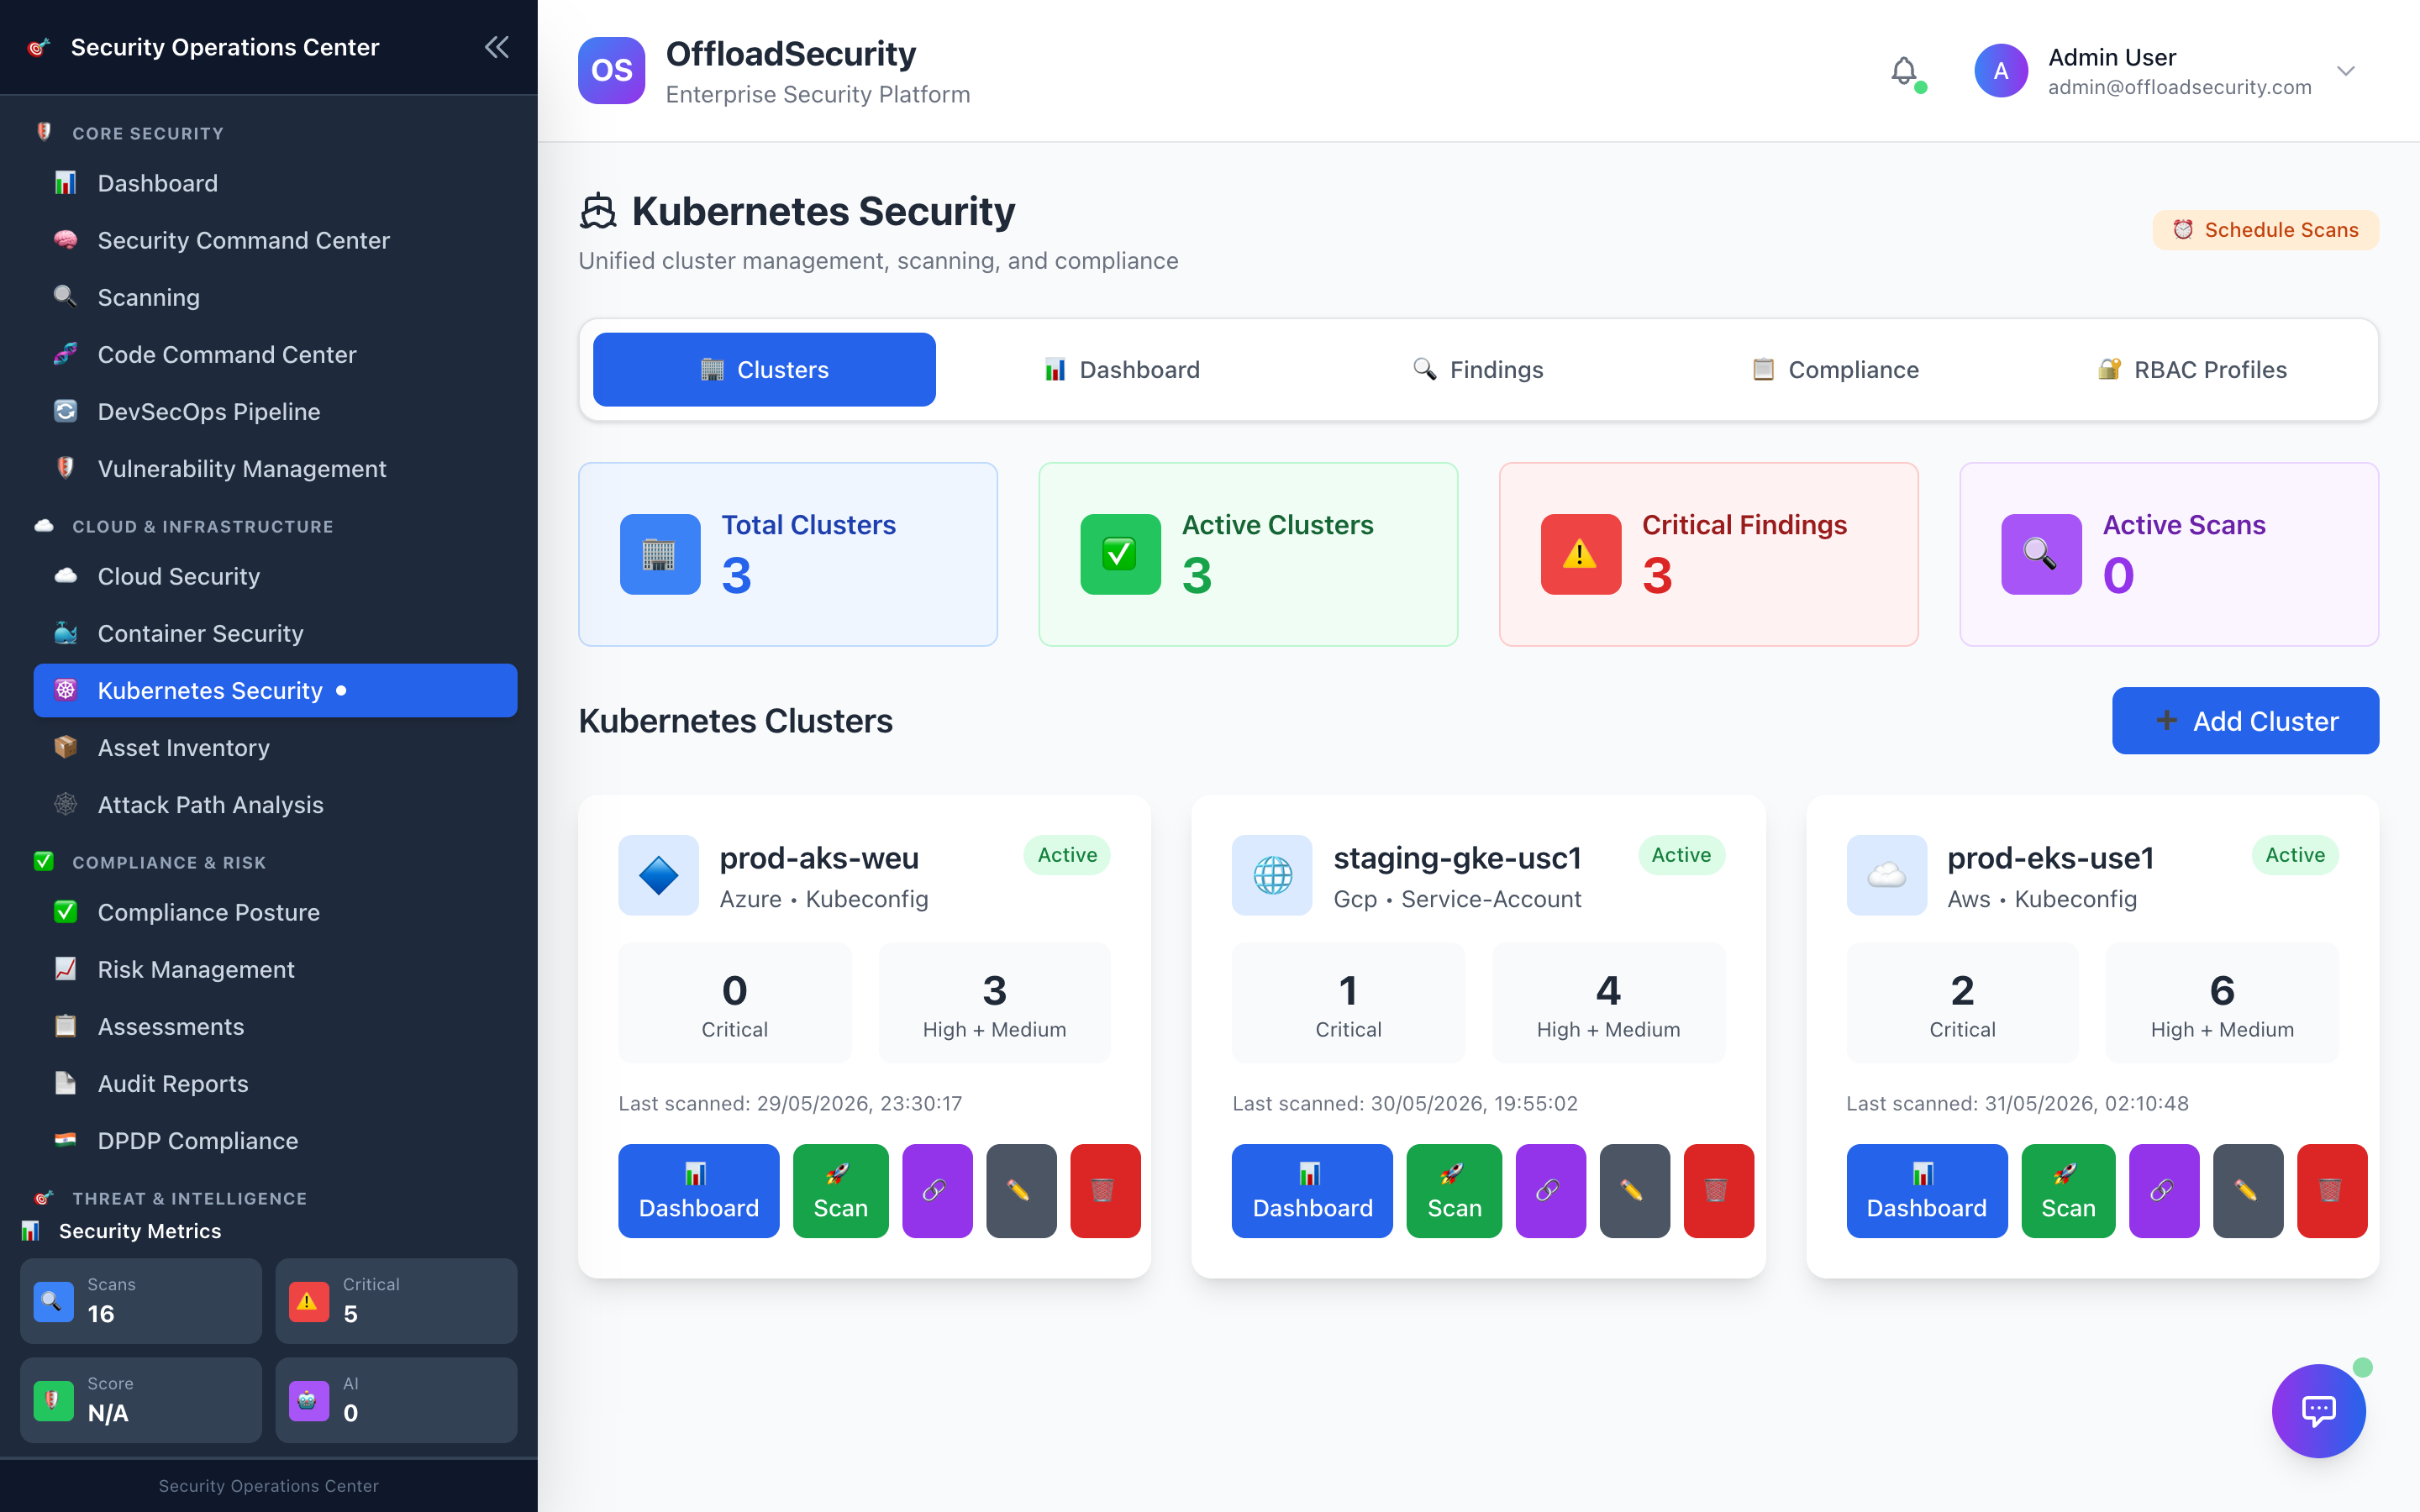
Kubernetes Security
Kubernetes Security scans your clusters for misconfigurations, insecure RBAC, risky workloads, and vulnerable images — then maps what it finds to the MITRE ATT&CK Container Matrix so you can see which attacker techniques your clusters are exposed to. It works across managed clusters (Amazon EKS, Google GKE, Azure AKS) and on-premises Kubernetes, using read-only access.
Cluster discovery (EKS / GKE / AKS) rides on the cloud read role, but reading
workloads needs an in-cluster RBAC ClusterRole (cloud IAM alone can't).
See Required Permissions.
What it does
- Onboards clusters with read-only credentials — a kubeconfig file or a service-account token — so the platform can talk to your API server without write access.
- Runs a suite of best-in-class scanners in one pass:
- kube-bench — CIS Kubernetes Benchmark checks for control-plane and node configuration.
- Polaris — workload best practices (resource limits, health probes, security context).
- Kubescape — CNCF scanner covering the NSA-CISA Kubernetes Hardening Guidance, MITRE ATT&CK, and CIS frameworks.
- Trivy — vulnerability and misconfiguration scanning for cluster resources and the images running in them.
- Normalizes every result into findings with a severity, the affected resource, and remediation guidance — deduplicated and scoped to your active team.
- Maps findings to MITRE ATT&CK for Containers, so each relevant finding shows the attacker technique it relates to and you get a coverage heatmap across your fleet.
- Reports against compliance frameworks — results roll up to CIS controls and cross-map to NIST 800-53, PCI-DSS, and SOC 2.
How to use it
1. Onboard a cluster
- Go to Kubernetes Security in the left navigation and select Add Cluster.
- Give the cluster a name and pick its environment — Amazon EKS, Google GKE, Azure AKS, or On-Premises.
- Choose how you'll connect:
- Kubeconfig file — upload a kubeconfig that points at your cluster.
- Service Account Token — paste a token for a read-only service account.
- Choose an access profile for the platform's service account:
- Minimal (recommended) — no access to Secrets or ConfigMaps.
- Extended — additionally reads ConfigMap and Secret metadata (not values). Use only when you need that depth.
- Save. The platform runs a connectivity test that confirms the API server is reachable, detects the Kubernetes version, and counts nodes and namespaces. On success, the cluster shows as connected and is ready to scan.
Onboard with read-only credentials and the Minimal access profile wherever possible. The platform never needs write access to your cluster — it only reads configuration and workload specs to assess posture.
2. Run a scan
- Open the cluster and select Scan (or Start Scan).
- By default the platform runs Trivy, kube-bench, Polaris, and Kubescape together. You can choose a subset if you only need certain checks.
- Optionally narrow the scan:
- Namespaces — limit scanning to specific namespaces.
- Severity — return only findings at or above a chosen severity (for example, Critical and High).
- Start the scan. It runs in the background; the cluster view updates with status and a count of findings by severity when it completes.
Scans are bounded by a per-scan API-call budget so they stay safe to run against big production clusters. Very large environments may take longer to complete.
3. Read the findings
Open a completed scan to review its findings. For each finding you'll see:
- Severity — Critical, High, Medium, Low, or informational.
- Affected resource — the workload, namespace, node, or control-plane component involved.
- Which scanner reported it and the underlying check or control ID.
- Remediation guidance — what to change to resolve it.
- MITRE ATT&CK technique — where the finding maps to the Container Matrix, the related tactic and technique are shown so you can reason about it in attacker terms.
Use the severity filters to focus on what matters first, and the MITRE ATT&CK coverage heatmap to see which tactics and techniques your clusters are most exposed to across the fleet.
4. Track compliance and remediate
- Findings roll up to CIS Kubernetes Benchmark controls and cross-map to NIST 800-53, PCI-DSS, and SOC 2, so you can show control status to auditors.
- Significant findings can be promoted into the Risk Register and tracked to closure like any other finding. See Vulnerability Management for triage and SLA tracking.
Prerequisites
- Network connectivity from the platform to your cluster's API server.
- A read-only kubeconfig or service-account token. For managed clusters, EKS/GKE/AKS clusters can also be auto-discovered from a connected cloud account — see Connecting Cloud Accounts.
- Confirm you're working in the correct team before onboarding or scanning — clusters and findings are scoped to your active team.
Related
- Connecting Cloud Accounts — auto-discover EKS/GKE/AKS from connected accounts.
- Container Security — scan the images that run in your clusters.
- Vulnerability Management — triage and track Kubernetes findings to remediation.
- Getting Started — sign in and learn the Scan → Finding → Risk → Report flow.