Running Native Scans
Native scans run industry-standard security tools against a target you specify — a web app, an API, a host, or a network range — and bring the results back into the platform as findings you can review, prioritize, and track. Everything runs on the platform's own infrastructure: you provide a target and pick a profile, and the platform handles the rest.
What it does
Native scanning gives you one launcher for several proven open-source tools, each focused on a different part of your attack surface:
| Scan type | Tool | What it checks |
|---|---|---|
| Web Vulnerability | OWASP ZAP | Web app vulnerabilities — spider crawl plus active testing for issues like injection and cross-site scripting. |
| Nuclei Vulnerability | Nuclei | Fast template-based detection of known CVEs, exposures, and misconfigurations (6000+ templates). |
| Security Headers | shcheck | HTTP security headers (HSTS, CSP, X-Frame-Options, and more) with scoring and recommendations. |
| Network Discovery | Nmap | Live hosts, open ports, running services, and OS detection across an IP, hostname, or CIDR range. |
| SSL/TLS Security | testssl.sh | Certificate details, supported protocols and ciphers, and TLS vulnerabilities such as Heartbleed. |
| API Security | API testing platform | Endpoint discovery, authentication-bypass checks, injection testing, and business-logic flaws. |
Each scan runs asynchronously: you launch it, it runs in the background, and the results appear on the Scans page when it finishes. You can run a single targeted scan, or use App Scan to run several tools at once against one URL and get a single consolidated report with a security rating.
How to run a scan
- From the dashboard, open the scan launcher (the Scanning section, or the Web Application Security quick-action card).
- Under Assessment Type, choose the scan you want to run — for example Web Vulnerability Scan (OWASP ZAP) or Network Discovery (Nmap).
- Enter the target. The field adapts to the scan type:
- Web, Nuclei, Security Headers, and API scans expect a full URL, for example
https://example.com. - Network Discovery accepts an IP, a hostname, or a network range, for example
8.8.8.8,example.com, or192.168.1.0/24. - SSL/TLS expects a hostname (for example
example.com) plus a port (default443).
- Web, Nuclei, Security Headers, and API scans expect a full URL, for example
- Pick a profile (see below) to control how deep and how fast the scan runs.
- (Optional) Configure authentication so the scanner can reach pages or endpoints behind a login — see the tip below.
- Select Launch (the button at the bottom of the form). You'll get a confirmation that the scan has started, with a scan ID.
- Open the Scans page to watch progress and open results once the status shows Completed.
Only scan systems you own or are explicitly authorized to test. Active scans (ZAP, Nmap, Nuclei) send real traffic to the target.
Picking a profile
Most scans offer a few intensity levels. Heavier profiles find more but take longer:
- Web Vulnerability (ZAP) — Quick (passive only, ~1–2 min), Standard (spider + active, ~5–10 min), or Comprehensive (AJAX spider + active, ~15–20 min).
- Nuclei — Quick (Critical/High only), Standard (all severities, full template set), Comprehensive (full coverage), or focused CVE Detection / Misconfiguration runs.
- Network Discovery (Nmap) — Ping Sweep (host discovery), Port Scan (top 1000 ports), Service Detection, Comprehensive (with OS detection), or Vulnerability Scan.
- SSL/TLS (testssl.sh) — Quick, Standard, Comprehensive, or Vulnerability Focus.
When in doubt, choose Standard. It balances depth and runtime and is the recommended default. Move up to Comprehensive once you've confirmed the target responds well.
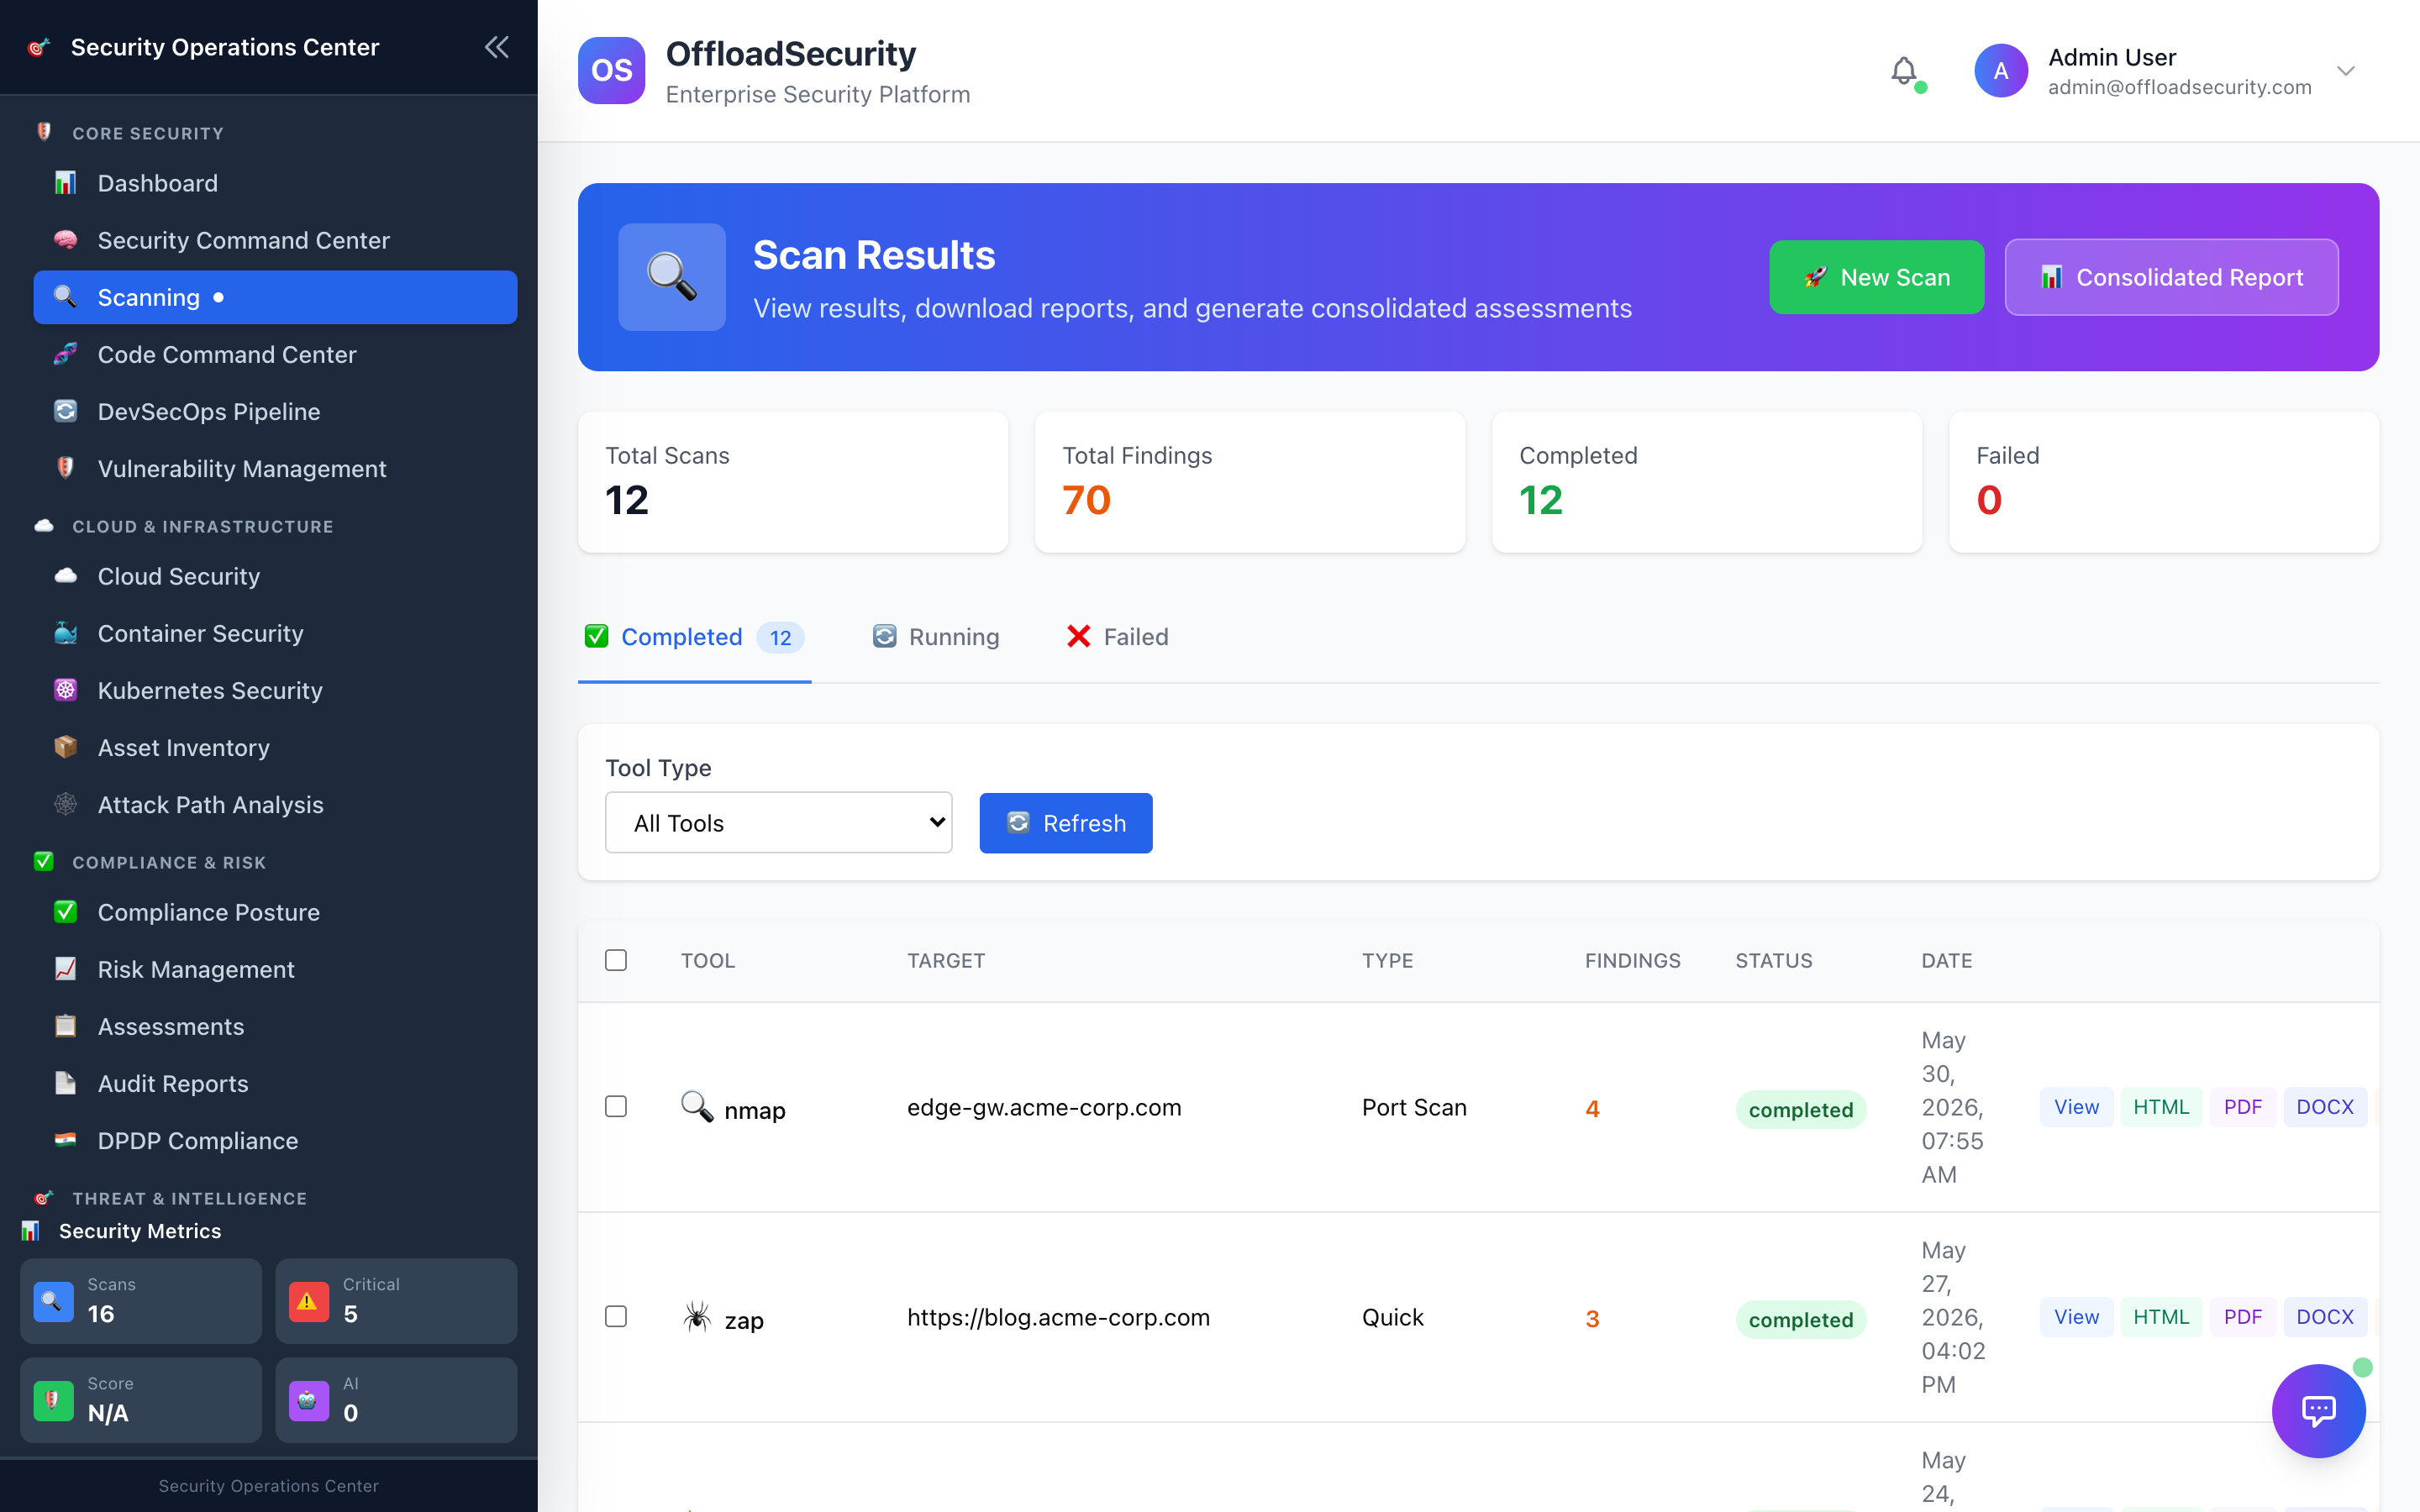
Reading the results
Open a completed scan from the Scans page to see its findings. Results are normalized into a consistent format regardless of which tool produced them, so each finding shows:
- a severity — Critical, High, Medium, Low, or Info;
- a title and description of the issue;
- a recommendation for how to fix it;
- the affected target and the tool that reported it.
The scan list shows status (Completed, Running, Pending, or Failed), the finding count, and a risk level badge. Findings flow into Vulnerability Management, where they're deduplicated and can be tracked to remediation.
If you run an App Scan, findings from every selected tool are combined into one report, mapped to standards you choose (such as ASVS or the OWASP Top 10), and graded with an overall security rating (A–F) so you get a single at-a-glance score for the application.
Scanning behind a login (authentication)
For web and Nuclei scans you can enable Authenticated Scan so the scanner can reach protected pages. Supported methods include:
- Bearer / JWT token
- Cookie string
- Custom header (for example an API key header)
- Form login — provide the login URL, the username/password field names, and credentials
Before an authenticated web scan starts, the platform verifies your credentials against the target. If they're rejected, the scan is blocked and the reason is shown, so you don't end up with a clean-looking scan that never actually logged in.
Use Run All Scans (or App Scan) to fire ZAP, Nmap, testssl.sh, Nuclei, and the headers check against a single target in one click, then review everything together.
Related
- Getting Started — sign in and find the scan launcher.
- API & Code Scanning — deeper API and source-code testing.
- Container Security — scan container images and registries.
- Kubernetes Security — assess your clusters.
- Vulnerability Management — triage and track the findings your scans produce.