Vulnerability & Risk Overview
The Vulnerability & Risk area is where security findings become managed work. It connects the technical view — individual vulnerabilities found on your assets — with the business view — the risks those vulnerabilities create — and tracks both all the way from detection to verified remediation.
What it does
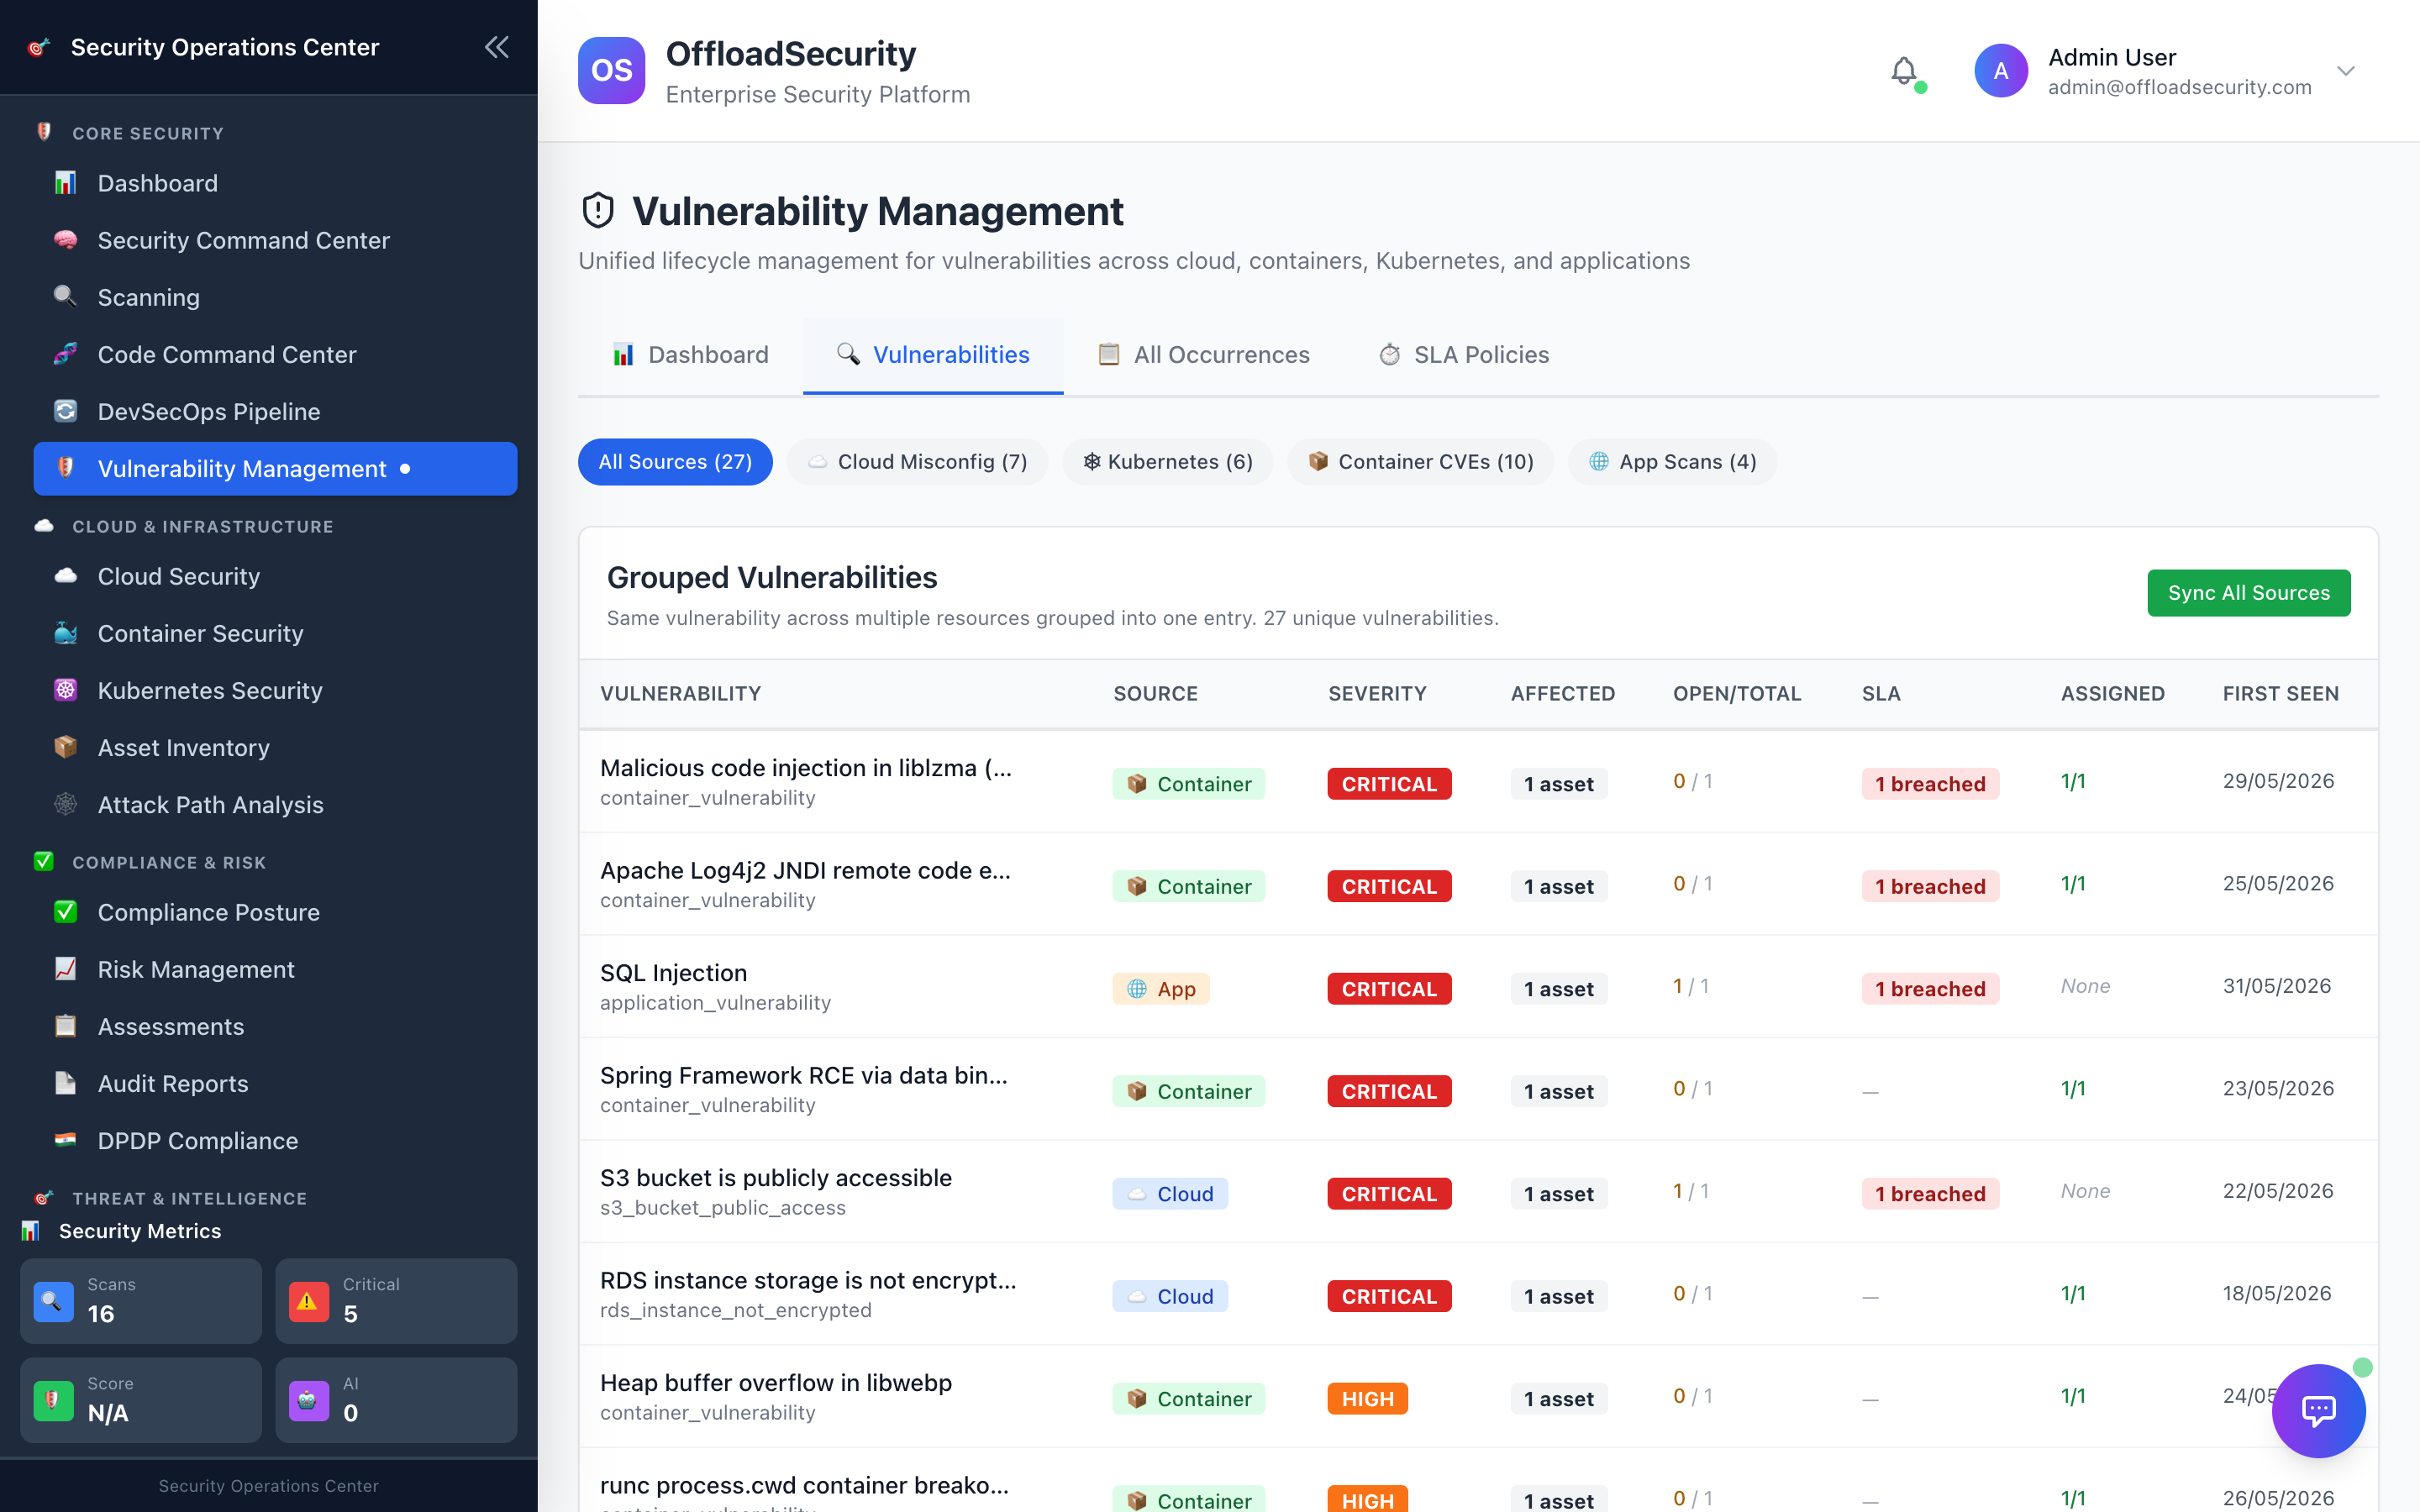
- Collects findings from every scanner in one place. Results from your cloud, container, Kubernetes, web, and code scans are normalized into a single, consistent record for each vulnerability on each affected asset — so you triage from one list instead of jumping between tools.
- Adds real-world threat context. Each finding is enriched with intelligence such as the CISA Known Exploited Vulnerabilities (KEV) catalog and EPSS exploit-probability scores, so you can tell which issues are actually being exploited in the wild — not just which have a high CVSS number.
- Promotes significant findings into business risks. High-severity findings can be turned into entries in the Risk Register, where they're scored for business impact and given owners and treatment plans.
- Enforces remediation deadlines. SLA policies set how quickly issues must be acknowledged and fixed based on severity, environment, and asset criticality, and flag anything that's overdue.
- Measures business impact. Business Impact Analysis (BIA) ties risks to the business processes they affect and tracks recovery objectives.
The lifecycle: detection to remediation
Work moves through the platform in a predictable flow:
- Detection. A scan (manual, scheduled, or run from your CI/CD pipeline) finds a weakness. The result is recorded as a vulnerability against the specific asset it was found on.
- Enrichment & prioritization. The finding is automatically enriched with threat intelligence (KEV, EPSS) and assigned a severity, helping you focus on what matters most.
- Triage. You review the finding, confirm it's valid, and decide what to do with it. Each finding moves through a clear set of states: Open → Triaged → In Progress → Resolved → Verified → Closed.
- Promotion to risk (when warranted). Significant findings — and high-severity ones automatically — are promoted into the Risk Register, where they're assessed for business impact and given a treatment plan (mitigate, accept, transfer, avoid, or share).
- SLA tracking. From the moment a finding is logged, its SLA clock runs. The platform tracks acknowledgment and resolution deadlines and escalates anything that breaches them.
- Remediation & verification. Once a fix is applied, the finding is marked resolved and then verified — confirming the vulnerability is genuinely gone — before it's closed.
:::note Vulnerabilities vs. risks A vulnerability is a specific technical weakness on a specific asset (for example, an outdated package on one container). A risk is the business-level concern it represents, with an owner, an impact rating, and a plan. One risk can cover many related vulnerabilities. You manage the technical detail in Vulnerability Management and the business view in the Risk Register. :::
How to use it
- Start in Vulnerability Management. Open Vulnerability & Risk → Vulnerability Management to see every finding across your environment. Filter by severity, asset, scanner, or status, and use the threat-intelligence signals (KEV / EPSS) to prioritize.
- Triage each finding. Update its status as you investigate. Mark false positives, assign work, and move valid issues into In Progress.
- Promote what matters into the Risk Register. For findings with real business impact, create a risk, set its impact and likelihood, assign an owner, and choose a treatment plan. High-severity findings can flow in automatically.
- Set and watch your SLAs. Define SLA policies so remediation deadlines match each issue's severity and the criticality of the affected asset, then monitor for breaches.
- Verify before closing. When a fix lands, confirm the vulnerability no longer appears, mark it Verified, and close it out.
:::tip Prioritize by exploitability, not just severity A medium-severity vulnerability that appears in the CISA KEV catalog or has a high EPSS score is often more urgent than an unexploited "critical." Sort and filter on these signals when deciding what to fix first. :::
:::note Make sure you're in the right team All findings, risks, and SLAs belong to your active team. Confirm you've selected the correct team before triaging or reporting. :::
Related
- Vulnerability Management — work the full list of findings: triage, enrichment, and lifecycle tracking.
- Risk Register & GRC — assess business impact, assign treatment plans, and govern risk.
- SLA Management — set remediation deadlines and monitor for breaches.
- Business Impact Analysis — link risks to business processes and recovery objectives.